Ercoupe Rear Window Replacement
Note: There is an excellent collection of Ercoupe maintenance information at Hartmut Beil's ercoupe.info site.
-
Fabricating and Replacing the Ercoupe rear windows
(Original smaller 415-C type held in with screws)
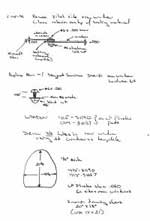
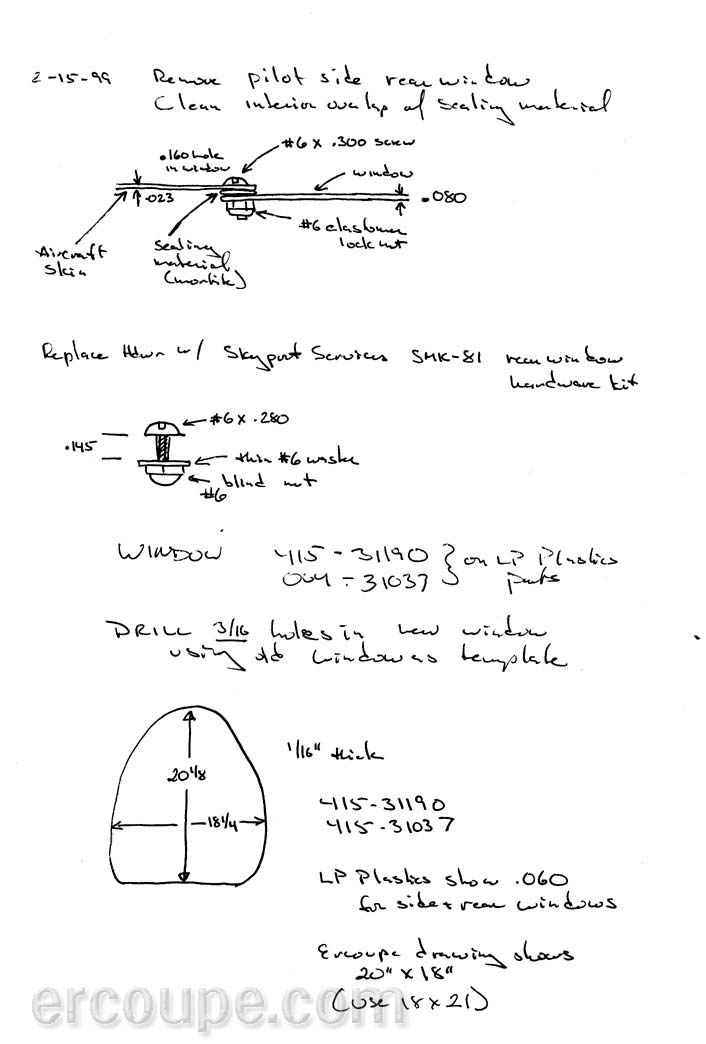
I have made several (at least four) rear windows. I used a rectangular blank of .063 Plexiglas (21" X 19") and a table top band saw with a fine blade I bought at Home Depot for about $100. I then used a hand held orbital sander and 100 grit paper to round the edges and smooth them. I used the removed window as a pattern (but you can reference the original Erco fabrication drawing 415-31037 if you want).
Using my drill press I drilled the holes oversize (3/16 inch for a #6 screw) to match the removed window. I used the special Plexiglas drill bits sold by LP Aeroplastics at (800) 957-2376.
The holes in the plastic should be much larger than the screws (LP Aeroplastics has hints on this and other Plexiglas installation and care instructions).
For the gasket material I used a single bead of Mortite (a clay type window weather strip sold around here at Home Depot), placed it on the outside of the plexi window over the holes I drilled and rolled it out flat with a wallpaper seam roller also from H.D.) I then installed the window from the inside of the plane and was careful not to over tighten the screws. The excess mortite extrudes out the edges and I used a plastic putty knife (guess where I bought it) to scrape off the excess from the inside and outside.
The original hardware consisted of a screw (#6 x .300) with the head on the outside on the aluminum skin. Inside an elastomer stop nut goes against the plastic. I replaced this with the Skyport SMK-81 rear window hardware kit includes a #6 x .280 screw, a thin #6 washer and a #6 blind nut.
In either case if you over tighten before the mortite has a chance to flow the window may crack (that was one of the four). Tighten up a bit, let sit and re-tighten.
The last time I broke a window (just a few days before I left for Oshkosh in 2002 I was polishing the plane and the polisher whacked the ELT antenna into the window - sigh) I was able to fabricate and install a rear window in about 2 hours. Luckily I had a spare rectangular blank lying around. Get several they should only be a few dollars each from your local plastic supplier cut to the approximate size.
Finally, fill out your airplane log book with the work done.
Note: The FARs allow the owner of an airplane to replace side and rear windows (see Preventive Maintenance - Part 43 Appendix A(c)(13)) and to fabricate parts (see (23.303(b)(2)).
See also Advisory Circular 23-27 Parts and Materials Substitutions for Vintage Aircraft, Appendix 1, Paragraph 4 concerning materials substitutions for window transparencies.